Water Sampling Chain of Custody for Community Lakes
A lake can look calm while water quality changes below the surface. For HOAs, golf courses, and gated communities, a water sampling chain of custody connects each test result to the correct lake, station, depth, collector, and handling record.
This process matters for retention ponds and lakes, not koi ponds. It helps property managers compare multiple basins, investigate algae or odors, document storm-related changes, and make maintenance decisions based on dependable information. The process starts before anyone fills a bottle.
How water sampling chain of custody works
Chain of custody is the documented history of a sample. It identifies where the sample came from, when someone collected it, who handled it, and when it reached the laboratory or next responsible party.
The exact form, preservation method, and delivery timing depend on the requested analysis and the laboratory's instructions. Still, every reliable process should make the sample's identity and condition clear.
Why sample identity matters
A result has limited value if nobody knows whether it came from the inflow, shoreline, open water, or bottom of the lake. The same problem occurs when a report lists "Lake 3" but the property has no map or consistent station names.
Each waterbody should have a clear identifier, such as North Entrance Lake, Fairway Lake, or Lake 3. Use that name on maps, maintenance records, field sheets, laboratory forms, invoices, and board reports.
On a multi-lake property, each basin may need separate testing. Drainage areas, depth, circulation, shoreline vegetation, and maintenance history can differ sharply between nearby lakes.
Three records should agree
A useful chain of custody connects three records:
- The field record shows the station, depth, date, time, weather, water level, and visible conditions.
- The sample label identifies the lake, station, depth, collection time, collector, and requested analysis.
- The laboratory or transfer record shows when the sample changed hands and where it went next.
When these details match, managers can trace a result back to a specific location and event. When they conflict, the result may need review before anyone changes the maintenance plan.
Plan the sampling event before collection
Sampling should answer a practical question. The goal may be to track recurring algae, investigate cloudy water, check oxygen conditions, understand runoff, or compare a lake before and after corrective work.
Routine monitoring and diagnostic testing are different activities. Routine monitoring and diagnostic testing for pond problems can help a property manager decide whether a regular observation is enough or whether focused water testing is needed.
Choose stations that show real conditions
One shoreline sample rarely describes an entire lake. A basic plan may include:
- A suspected inflow or drainage point
- An open-water station away from the bank
- An outfall or overflow structure
- A recurring algae, odor, or fish-stress area
- A bottom-water location when depth or oxygen conditions require it
Use GPS coordinates when available. Otherwise, mark stations on a property map or aerial image. Keep the same locations during future visits so results can be compared.
For connected ponds, note which lake receives water from another basin. Overflow structures, culverts, swales, and outfalls can move sediment, nutrients, or contaminants across the property.
Record conditions around the lake
Field conditions give laboratory results useful context. Before collection, record recent rainfall, wind, water level, water color, clarity, odor, surface scum, algae, aquatic vegetation, wildlife activity, erosion, visible discharge, and nearby construction.
Photographs should show the sampling station and any condition that may affect the result. Also record whether fountains, bottom diffusers, pumps, or irrigation systems were operating.
Treatment history belongs in the same file. Include the product used, application date, treated area, weather, and treatment goal. Do not assume that sampling immediately after treatment answers the same question as a pre-treatment sample.
Collect samples without changing them
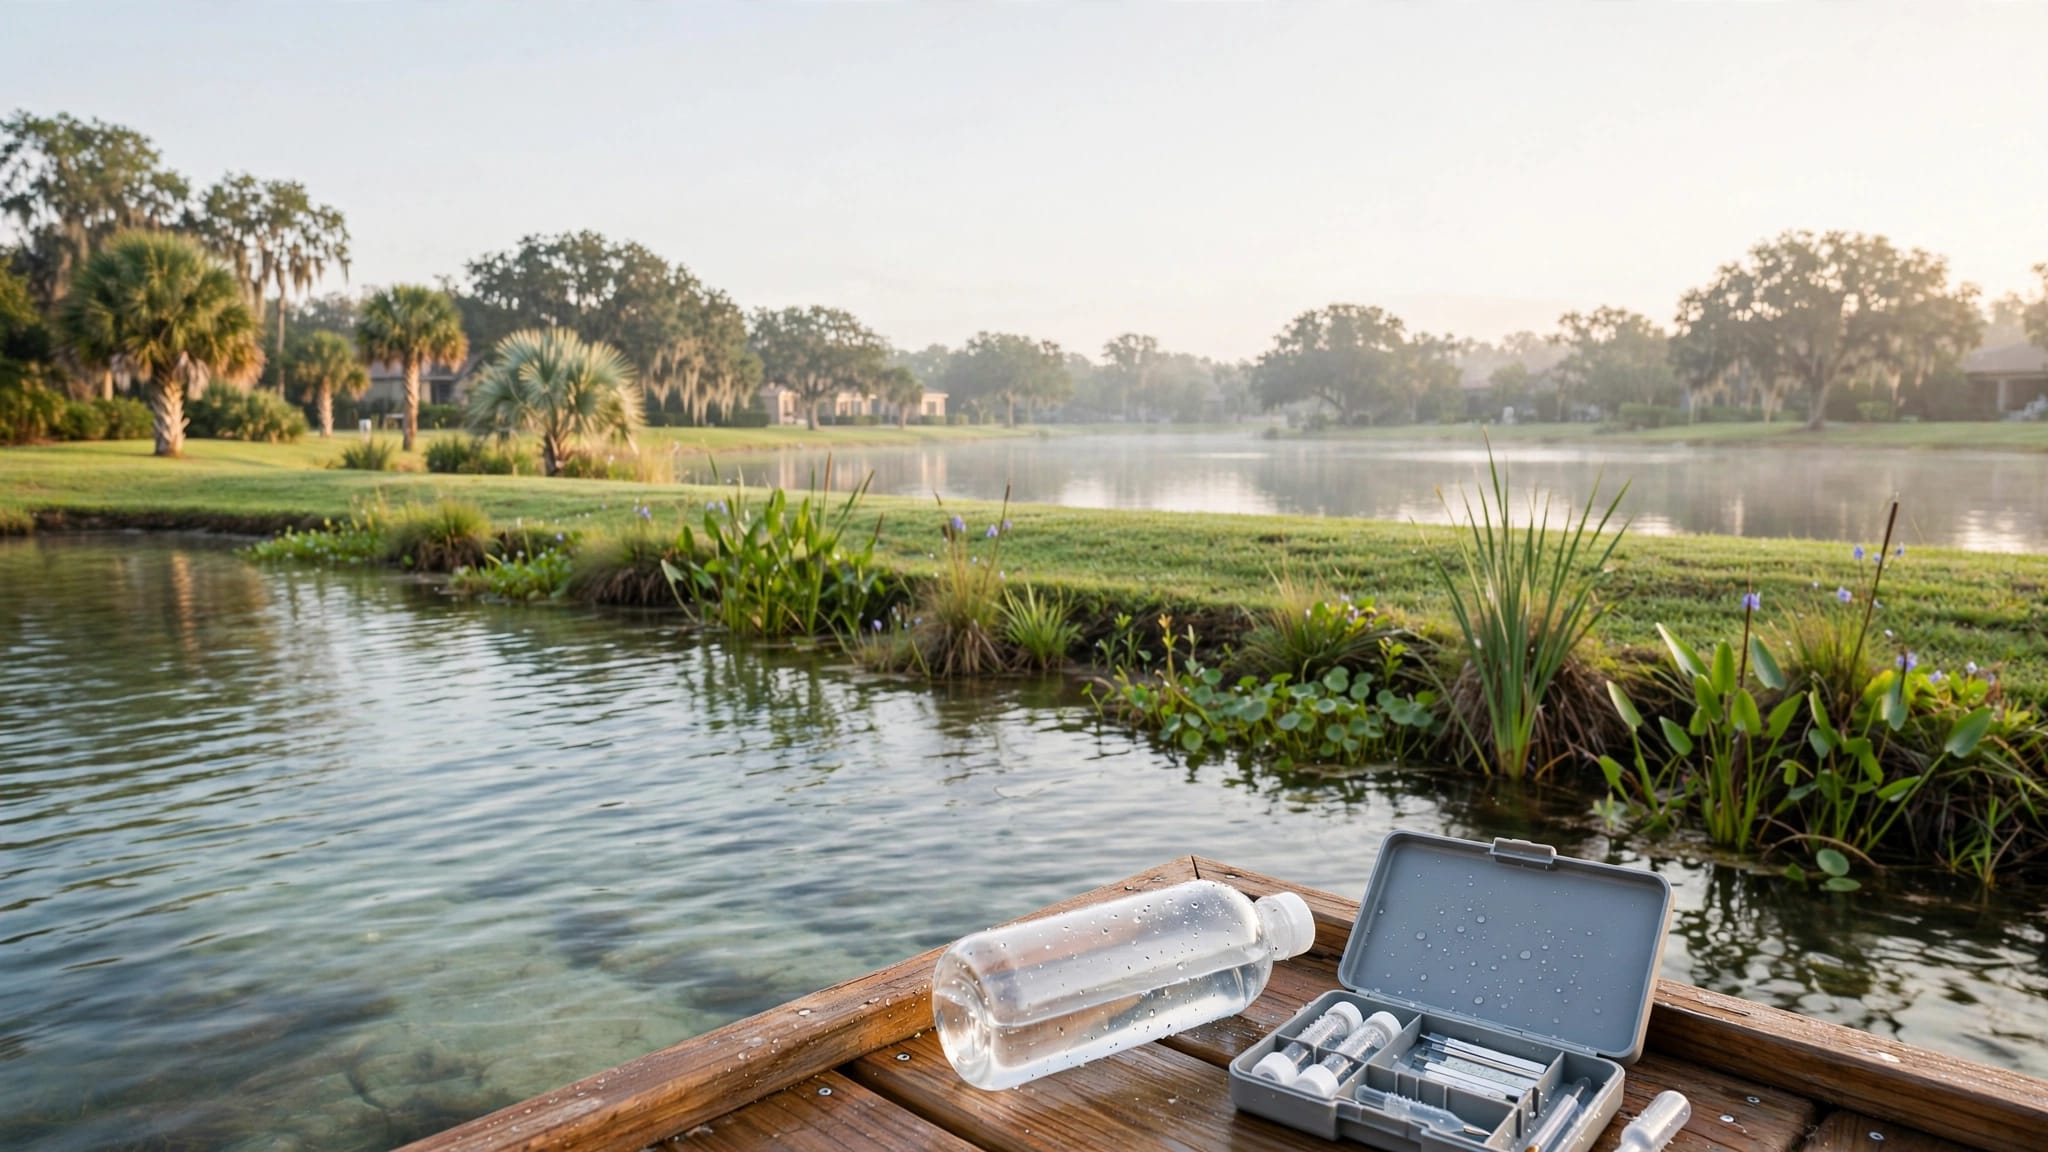
The collection step can introduce errors when equipment, hands, soil, sediment, or plant material contact the wrong container. Field crews should follow the laboratory's directions for bottles, rinsing, preservation, cooling, and delivery.
Samples should represent the water being studied. Avoid stirring sediment from the bank or lake bottom unless sediment analysis is the purpose. Do not collect only floating scum when the goal is to understand general water quality.
Use clean equipment and separate containers
Use clean containers supplied or approved for the requested analysis. Bottles intended for nutrient or bacteria testing should not be reused. Equipment that touches one lake should be cleaned before moving to another when the procedure requires it.
A sample may require cooling with ice or another preservation method. The laboratory should provide those instructions, including any holding-time requirements. A late or poorly handled sample may not support a reliable conclusion.
Residents should not wade into retention ponds to collect water. Steep banks, soft sediment, drop-offs, alligators, contaminated runoff, and submerged equipment create safety risks. Trained personnel should use stable access points and appropriate sampling tools.
Label every bottle before leaving
Labels should remain legible and match the field record. Include:
- Lake or basin name
- Station identification
- Sample depth
- Collection date and time
- Collector's name or identifier
- Requested analysis
- Sample identification number, when assigned
Take a photograph of the completed label when the process allows. That image can support the record if a label becomes damaged or a report later contains a question.
Field meters also need documentation. Dissolved oxygen, pH, conductivity, and temperature instruments require calibration according to the manufacturer's instructions. Log the calibration time, standards or method used, and any error messages. If a reading appears unusual, repeat it before leaving the station.
Document the handoff to the laboratory
The transfer portion of a water sampling chain of custody shows what happened after collection. The record should identify the person releasing the sample, the person receiving it, the date and time of transfer, and the condition of the sample when it changed hands.
The laboratory's form may include additional fields. Use its instructions rather than creating a substitute process that omits required information.
Match delivery to the analysis
Different analyses may have different container, preservation, and holding-time requirements. The collection route should account for those instructions before the field crew begins.
A qualified laboratory can explain the applicable method, sample handling, reporting units, turnaround time, and certification status. Property managers should ask these questions before scheduling a diagnostic event, especially after a spill, sewage failure, flooding, or another unusual condition.
For possible contamination, the sampling plan may need release-point samples, multiple depths, connected lakes, outfalls, sediment, and an unaffected comparison location. Surface water alone may miss a problem near the bottom or sediment.
Keep the record together
Store the chain-of-custody form with the sample report, field notes, photographs, station map, weather information, and treatment history. Use a separate folder for each lake or basin within the property file.
A consistent file makes future comparisons easier. It also helps when board members, property managers, or contractors change. The next person should be able to determine what was sampled, why it was sampled, and how the result relates to the lake's condition.
Read results in the context of the lake
A laboratory report is only one part of the investigation. Water conditions change during the day and after weather events. Heavy rain can carry nutrients and silt into an inlet. Wind can stir bottom material. Long dry periods can concentrate pollutants.
How to read HOA lake water test results provides useful context for reviewing the sample date, time, location, depth, weather, and testing method before focusing on the numbers.
Compare locations, depths, and dates
A single result may show what happened at one point in time. Repeat samples reveal whether a condition is isolated or persistent.
Compare the inflow with the open-water station. Compare surface water with bottom water when the lake is deep enough. On a multi-lake property, compare basins only after confirming that their drainage and sampling conditions are reasonably comparable.
Dissolved oxygen and temperature profiles can add detail that a surface sample cannot provide. A field sequence may include the surface, 1.5 meters, 2 meters, 3 meters, increasing intervals through deeper water, and a final reading 1 meter above the bottom. The appropriate sequence depends on basin depth and the sampling objective.
Connect results to a maintenance decision
A test should lead to a reasonable next step. High nutrients may require a runoff review and algae management. Cloudy water after storms may point to erosion or sediment entering through an inflow. Low oxygen may call for a closer look at organic material, circulation, aeration, or water-column layering.
Treatment should match the cause. Correcting drainage, stabilizing an eroding shoreline, clearing an inlet, removing debris, or improving circulation may matter more than treating visible algae alone.
Professional lake water quality testing for healthy lakes can support decisions about retention ponds, community lakes, and commercial water features when visual inspection does not explain a recurring problem.
Common chain-of-custody mistakes
Small documentation gaps can make a result harder to use. The most common problems usually occur when the property has no consistent sampling plan.
Avoid these errors:
- Collecting every sample beside the most visible shoreline
- Using different station names on maps, reports, and invoices
- Leaving bottles unlabeled until the end of the visit
- Failing to record depth, weather, recent rainfall, or treatment history
- Moving between lakes without cleaning reusable equipment
- Treating an unusual meter reading as accurate without checking it
- Sending samples without confirming preservation and holding-time instructions
- Testing only the surface after a suspected release or sediment problem
- Comparing results collected at different stations or times as if they were identical
- Filing laboratory reports without the field notes that explain them
A property manager can use a Florida HOA lake inspection checklist to connect sampling with shoreline conditions, erosion, debris, water levels, and visible changes after storms.
Key Takeaways
- Chain of custody links a sample to its lake, station, depth, time, collector, handling, and transfer history.
- Every basin on a multi-lake property may need its own sampling plan because drainage and water conditions vary.
- Consistent stations, labels, field notes, meter calibration, and photographs make results easier to compare.
- Laboratory instructions control container selection, preservation, cooling, delivery, and holding times.
- Surface appearance alone cannot explain every algae, oxygen, odor, staining, or contamination problem.
- Test results become useful when the HOA connects them to a specific maintenance decision.
Seabreeze Lake Maintenance serves Southwest Florida communities with a Commercial Applicator License #CM28291 and State-Licensed Specialty Contractor #SCC131152136. Managers can Get a Free Lake Health Assessment to discuss a property-wide inspection and current lake maintenance needs.
FAQ about community lake sampling
Does every retention pond need routine laboratory testing?
No. Testing frequency depends on the lake's use, history, drainage, appearance, and current concern. Routine visual monitoring may be appropriate for a stable basin, while recurring algae, fish stress, unusual odors, runoff problems, or changing water levels may justify diagnostic testing.
A lake used for swimming, wading, paddling, or another recreational activity may require different evaluation than a drainage pond with no approved water contact.
Should an HOA sample every lake at the same time?
Not always. A consistent schedule helps with comparisons, but weather, treatment, access, and the question being investigated also matter. Each basin should have repeatable stations and records that show when and why the sample was collected.
A multi-lake property inspection checklist can help managers document conditions across several basins rather than focusing only on the lake beside the clubhouse or entrance.
What should the HOA do after a suspected contamination event?
Limit contact with the affected area and keep residents, children, pets, and workers away until the situation receives qualified review. Document the source, location, weather, visible discharge, water level, and time of discovery.
A qualified laboratory or environmental professional should help select the right analysis and sampling locations. Follow-up timing should come from the laboratory and any responsible local agency, not from a general calendar.
Conclusion
A dependable water sampling chain of custody gives an HOA more than a laboratory number. It creates a traceable record that connects lake conditions, field observations, sample handling, and maintenance decisions.
When communities use consistent stations, accurate labels, complete field notes, and laboratory instructions, they can identify recurring problems earlier and avoid treating every lake the same way. Good records protect the waterbody, the property, and the people responsible for its care.
Recent Posts